How much coffee belongs in the basket, how much should land in the cup, and the small habits that make a home shot taste like coffee — not homework.
Jordan Hale · With notes from Kaleena Teoh
The dose problem
You can own a nice machine and still pull a sad shot.
Making coffee is mostly measuring, even when it feels like a cozy ritual. Drip has a golden ratio people actually use. Espresso has one too — and a lot of home setups skip it. Pack the basket too full and the water has to fight its way through. Pack it too light and you get a thin, sour trickle. Either way, it will not taste like the cup you paid five dollars for.
You do not need a cafe budget. You need a machine that can hold pressure and heat, a grinder that can go fine, a cheap scale, and a few habits you can repeat on a weekday morning. That is the whole game: same dose, even puck, honest ratio. The rest is tasting and nudging.
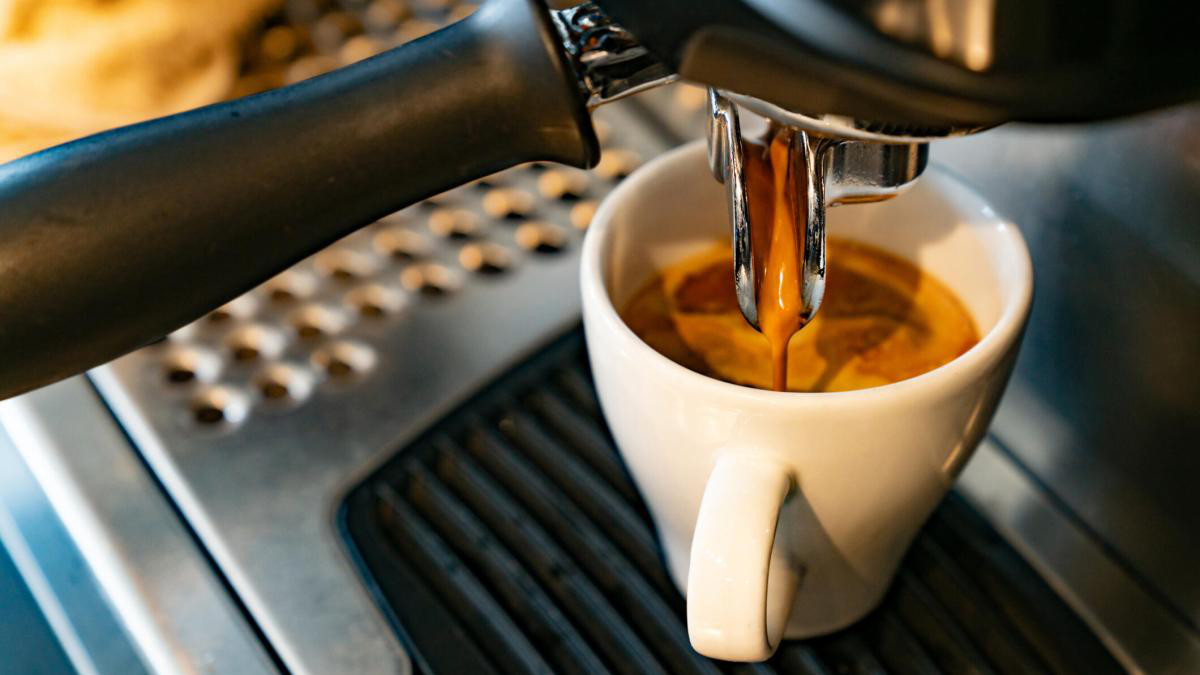
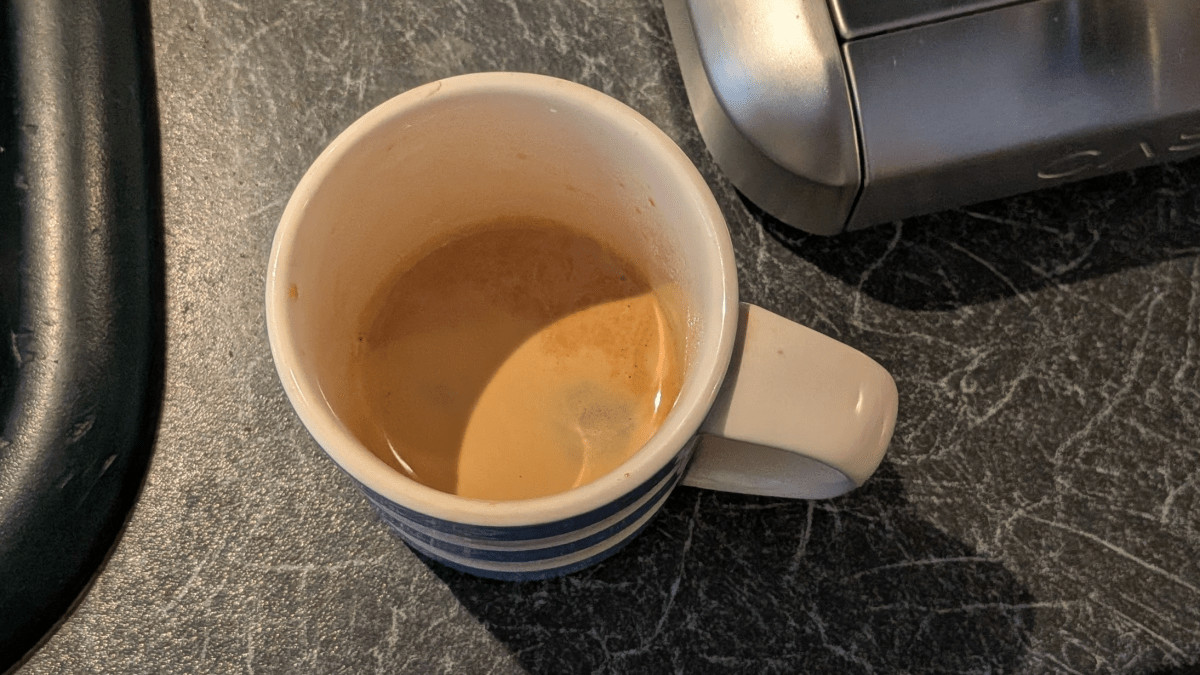
A good shot looks like warm honey, not a leaky faucet. The look is a clue. The taste is the test.
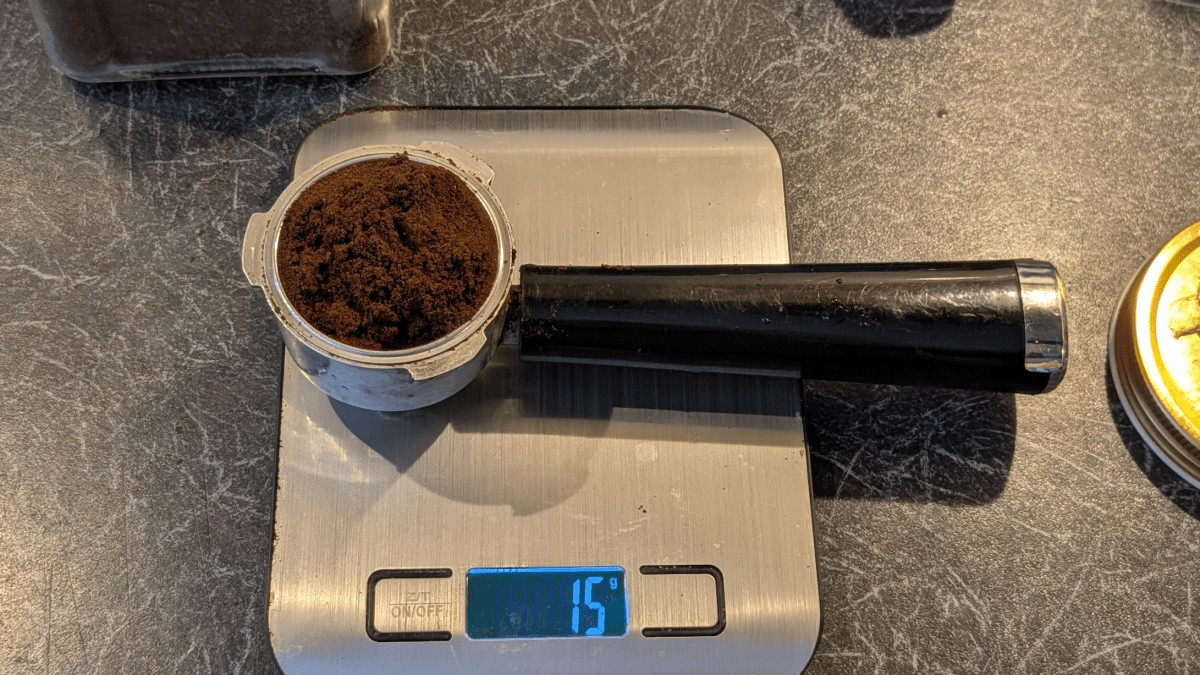
Weigh the coffee. Stop treating the portafilter like a guessing cup.
Kaleena Teoh teaches coffee and co-founded Coffee Project New York. She talks about espresso like a method, not a lifestyle. The notes below follow her advice on grind, ratio, how you pack the puck, and that foam people take pictures of. If you already bought the machine, good. Now use it like a tool, not a trophy.
Start here
Espresso is a method, not a drink.
The word itself is doing extra work. Espresso is not a type of bean, and it is not automatically the dark, bitter shot from a chain menu. It is a way of brewing: hot water gets pushed through a tight puck of finely ground coffee. You can do that on a machine with a boiler, or even on a stovetop pot. Chrome and lights are optional.
Teoh’s rule is simple. The two things that actually matter are whether the machine can hold pressure and whether it can hold temperature while the shot is running. A lot of home models will not let you tweak either one. That is fine. A gauge is reassuring. Following the manual — including any preheat step — matters more.
Keep the machine clean. Brush old grounds off the portafilter rest. Run hot water through the group head now and then. Leftover coffee oils go stale, and then every shot tastes a little off and you blame the beans. If your model asks you to wait for a ready light, wait. Pulling a shot into a cold group head is an easy way to get sour coffee and then decide you just don’t like espresso.
You can pull a serious shot on a budget machine if heat and pressure stay steady.
01 · Grind
Mind the grind size
There is no such thing as espresso beans. That is marketing. Use whatever origin and roast you like, even a light one. The grind is what turns those beans into espresso instead of drip.
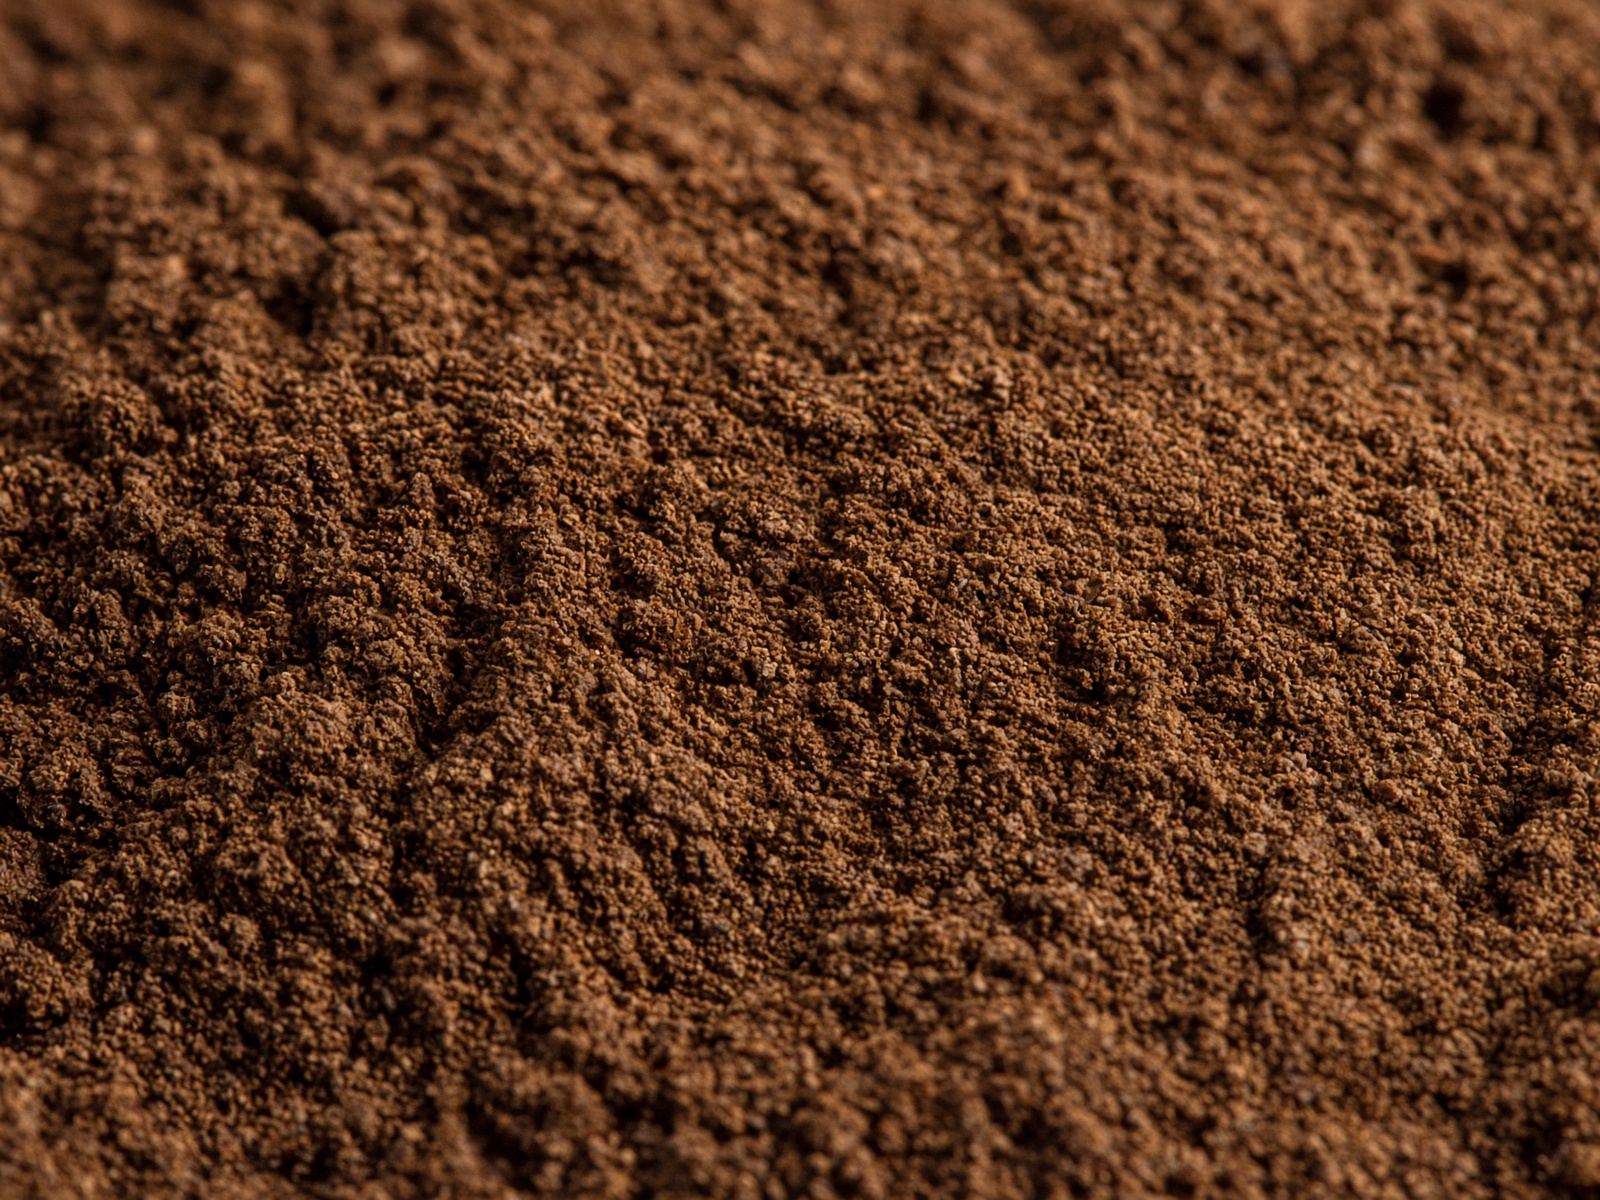
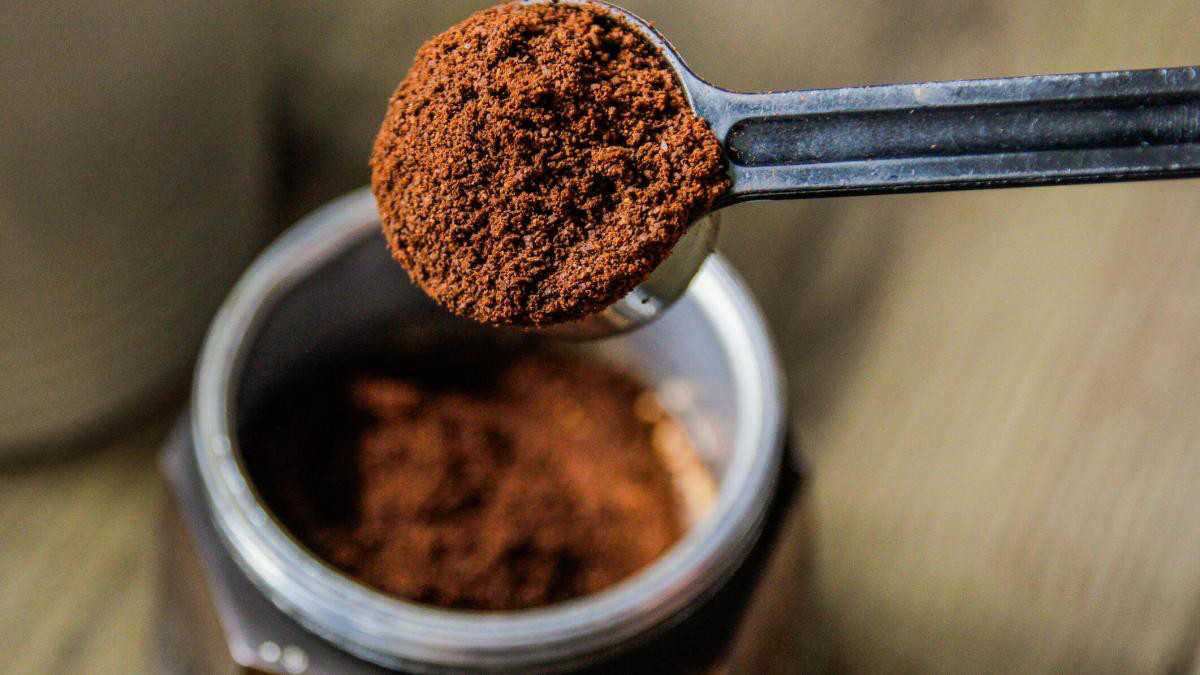
Teoh says you want something around the texture of fine sand. Finer than drip, pour-over, or French press. Not as fine as Turkish coffee, which is basically powder. If the shot gushes out in ten seconds, go finer. If it crawls and tastes harsh, go a little coarser.
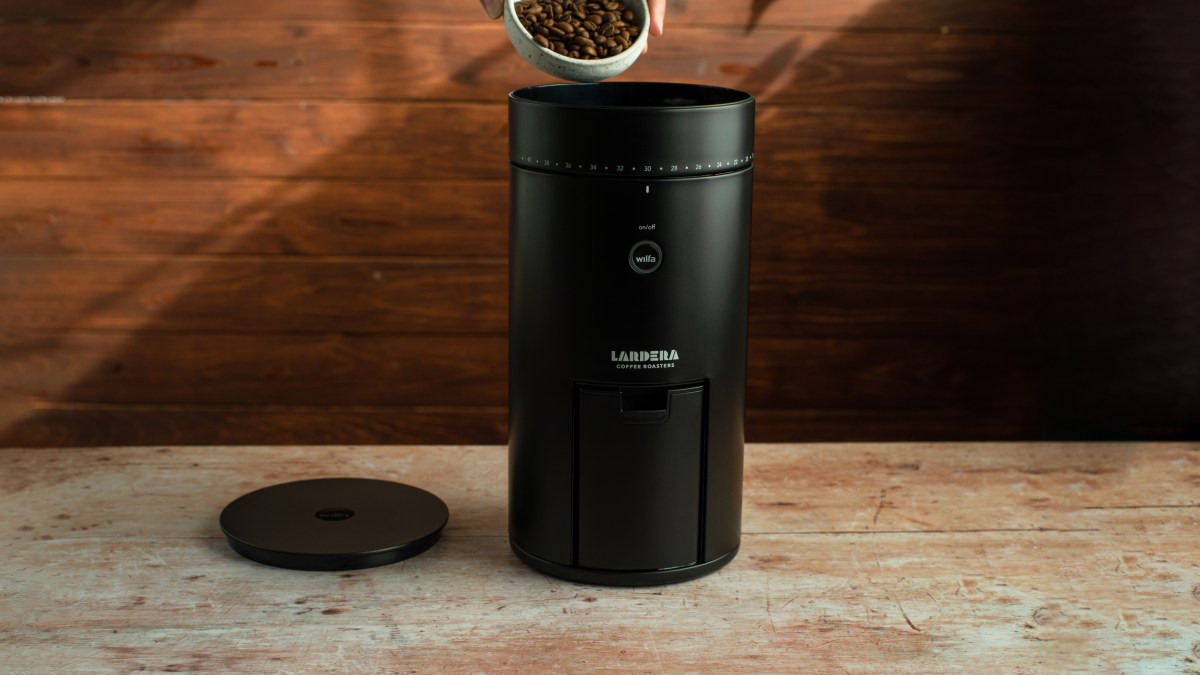
A burr grinder with a real dial is the upgrade that changes the cup.
Fine sand, not dust. The grains should still look like grains.
This is why a burr grinder with a real dial beats a blade grinder or a machine with three mystery settings. If you have extra money after buying a basic machine that holds pressure and heat, spend it on the grinder. Teoh does not soften this: a good burr grinder is very, very important for espresso. Freshness counts too. Grind right before you brew, and buy beans roasted in the last few weeks — not the bag that has been sitting under grocery lights since last season.
02 · Ratio
Nail the coffee-to-water ratio
Drip coffee has a golden ratio. Espresso has one too, but you are not really controlling a kettle. You are looking at how much ground coffee went in versus how much liquid espresso came out. Pros weigh the cup. You should too. Eyeballing “a double” is how you get a different drink every day.
Teoh’s window is 1 to 1.5 up to 1 to 2.5. In plain numbers: for every 1 gram of coffee in the basket, you want about 1.5 to 2.5 grams of espresso in the cup. That range is strong without tasting like syrup, and it is not watery. If you want an easy target while you learn, aim for 1-to-2. A smaller yield tastes more intense. A bigger yield tastes lighter.
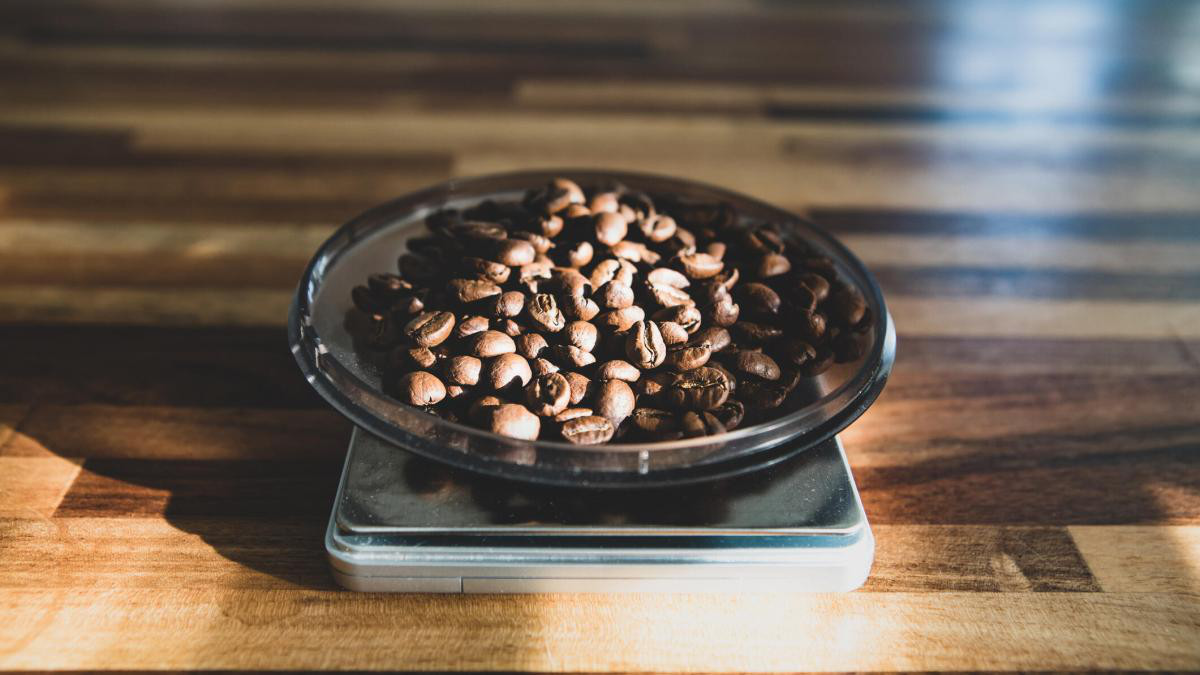
Weigh the dose. Then weigh the shot. Volume in a glass lies a little; a scale does not.
For every gram in the basket, shoot for about two grams in the cup. That is the average that keeps most people out of trouble.
A simple 1:2 starting chart
Liquid in the cup
Coffee in the basket
2 oz
1 oz
3 oz
1.5 oz
4 oz (a double)
2 oz
Cafe shorthand for a double is often about 18 grams in and 36 grams out in roughly 25 to 30 seconds. Use that if grams feel easier than ounces. Same 1:2 idea, just in numbers a scale already speaks. If your machine has a strength button, play with it. If it does not, you still have grind, distribution, and tamp. Change one of those at a time.
Despite the bags that say otherwise, espresso beans are just coffee beans. Roast and grind do the real work.
There is no secret espresso bean.
Grocery shelves love the word espresso on a bag. That usually just means a darker roast that can stand up to milk. You can pull a shot with a light roast from Ethiopia or a chocolatey blend from your local roaster. The basket does not care about the label. It cares about particle size and dose.
What the bag should tell you is roast date. Aim for beans that are a few days to a few weeks off roast. Brand-new beans can be gassy and messy. Ancient beans taste flat and make less foam. Match the dose to your basket, too. Overfilling is how you get a messy, bitter puck and a shower screen caked in grounds.
03 · The puck
Build a puck the water cannot cheat
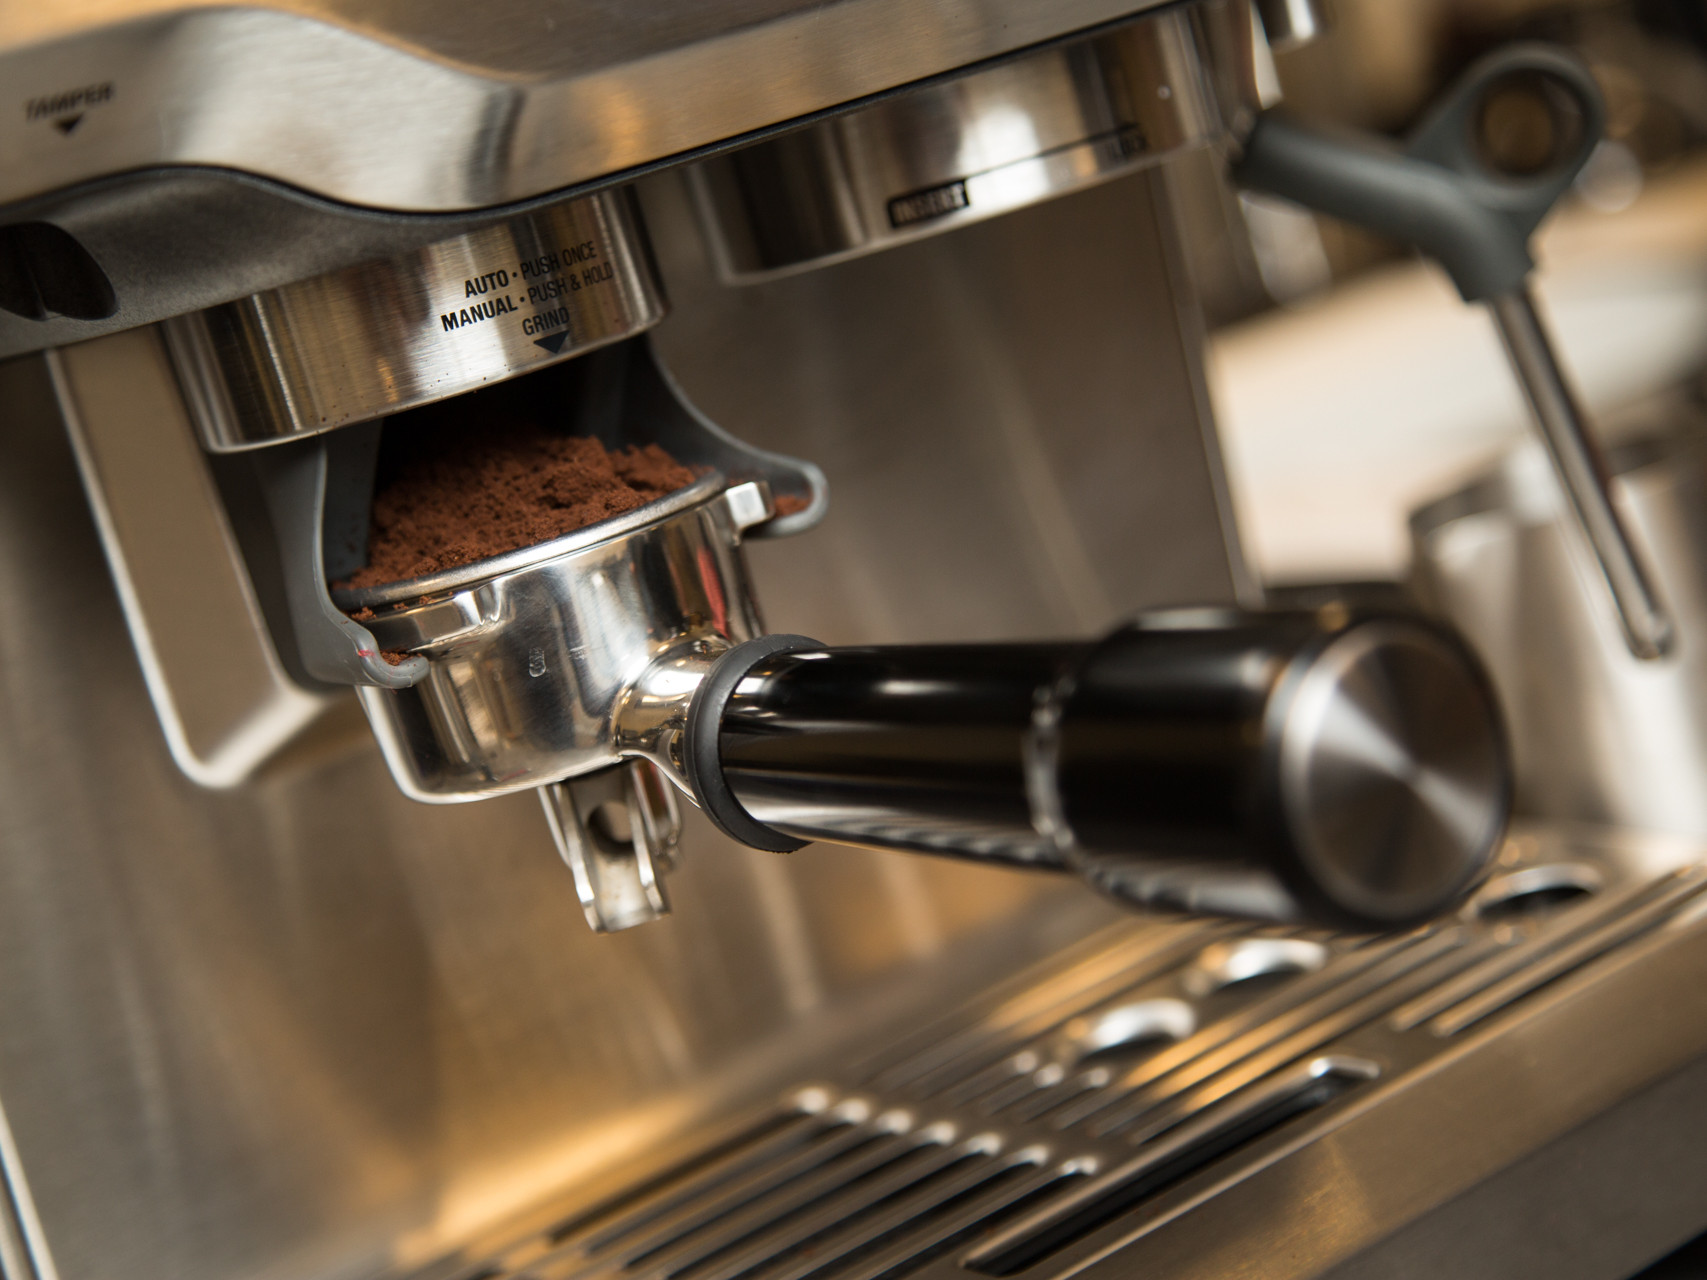
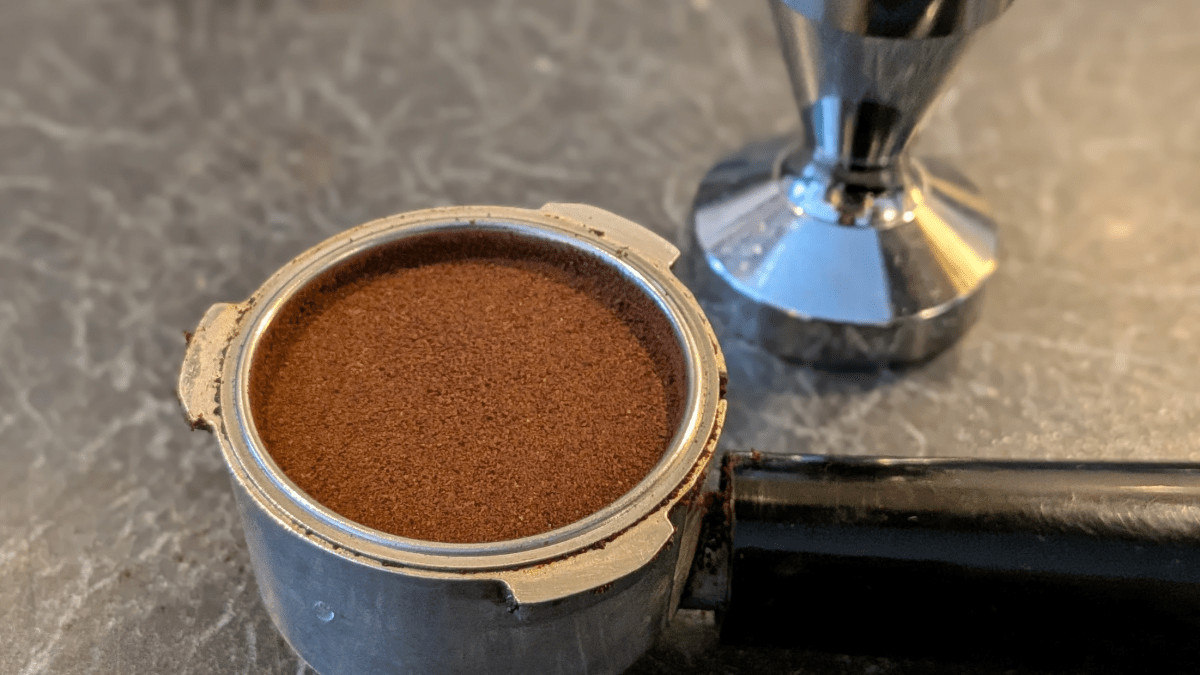
After you weigh the grounds into the portafilter, level them before you tamp. Teoh’s move is low-tech: use your fingers to spread the coffee so it sits even. Fancy distribution tools exist. Fingers work.
Water always takes the easy path. If one side of the basket is packed and the other is fluffy, the water will punch through the fluffy side. Baristas call that channeling. Half the puck gets over-extracted and bitter. The other half barely gets touched. The cup tastes confused, because it is.
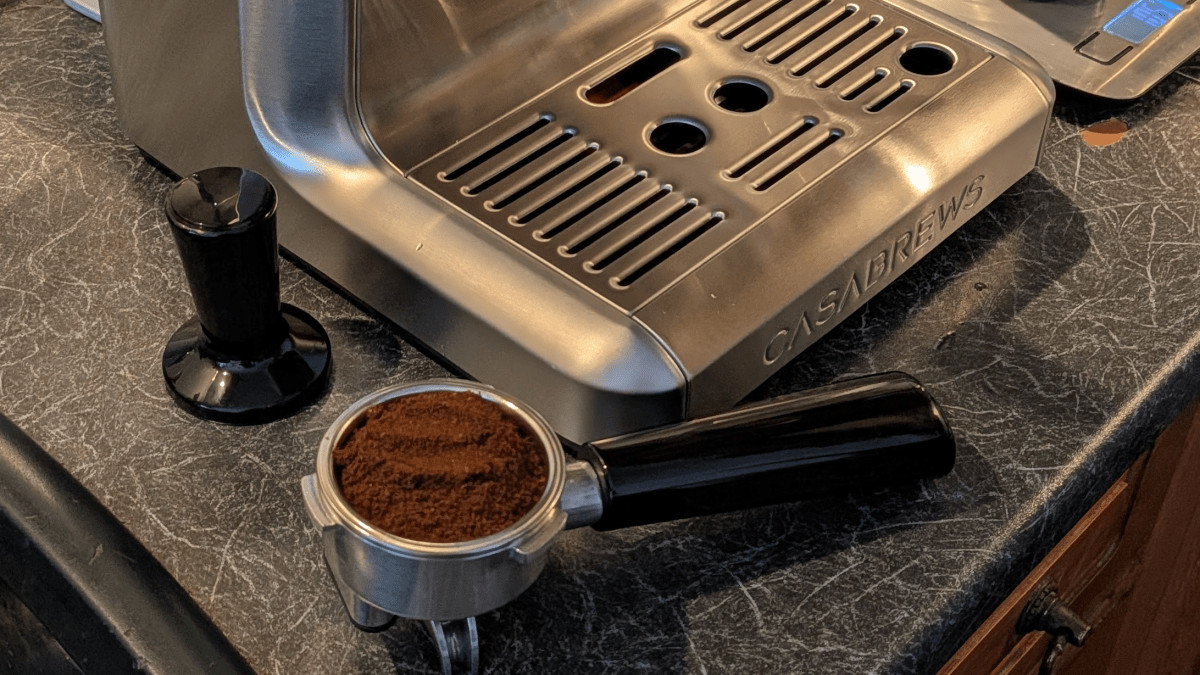
Level first. An even bed is more important than a heroic tamp.The surface should look smooth and level, like packed brown sugar — not a crater, not a dome.
If the grounds are uneven before you tamp, you already lost. Tamping a hill just makes a denser hill.
A heavy tamper that actually fits your portafilter helps. Home baskets are usually 51 or 54 millimeters across. If your machine came with a light plastic tamp, replace it. Tamping is not a workout. Teoh says push down until you feel the puck start to push back. You are not using your whole body weight. You are also not tapping a credit card on a counter.
If you like numbers, a lot of guides say 20 to 30 pounds of force. Keep your wrist straight so the tamp lands level. Spring-loaded tampers click at a set pressure, which is helpful if your hands are still learning how “enough” feels. Wipe the rim before you lock in. Do not knock the portafilter on the counter after tamping — that crack is often a fracture, and water will find it immediately.
04 · Taste
Taste it, then change one thing
The golden ratio is a starting line, not a law. Your espresso, your palate. Slight changes in freshness, roast, grind, dose, tamp, and temperature all show up in the cup. You do not fix it by buying a new machine on day two.
Change one variable at a time. If you change grind and dose together, you will not know which one saved breakfast.
If the cup is not right, the machine is not haunted. Something needs a small adjustment.
Sour and fast usually means the grind is too coarse, or the shot ran too long in yield for that grind. Bitter and slow usually means the grind is too fine, or you packed more coffee than the basket wanted. Watery means you let it keep pouring after the good part was over. Give a new setting two or three shots before you panic. The first one after a grind change is often a liar.
The foam question
Crema looks fancy. It is not a report card.
That foamy layer on top of a shot is fun to look at. It is not proof you did everything right, and it does not carry most of the flavor. If your shot has a thick cap and still tastes hollow, trust your tongue.
Teoh explains it like this: roasting traps carbon dioxide in the beans. Brewing lets that gas out, and it turns into foam. The puck’s density is not what decides whether crema shows up. The foam is gas plus oils plus tiny bits of coffee. There are aromatic compounds in there, but the actual flavor lives in the darker liquid underneath. Crema helps with mouthfeel more than taste.
No crema? It might not be your technique. Light roasts and stale beans both make thin foam. If you want more, buy a darker roast that was roasted recently. Fresh plus dark is the simple formula.
Pretty foam, quieter flavor. Stir it in if you want the texture. Judge the shot by the sip.
Take this to the kitchen
Weigh the coffee. Grind like fine sand. Level, then tamp until the puck pushes back. Aim for about twice as much espresso out as coffee in. Taste. Change one thing. That is the whole curriculum.